Developer program invites
To distribute your app in the App Store and Google Play and to enable submitting regular updates to your app, you'll need to invite us to join your developer accounts.
There are a total of three invites that need to be sent. Additionally, for Google, a service account needs to be created.
To complete the setup, please follow these steps.
1. Apple Developer Program
1.1 Start by navigating to the log in site for your Apple Developer Account and log in.
1.2 Navigate to People and choose then to Invite People.

1.3 In the Invite as Admins field, type the email address appstore-yourcompanynamehere@richie.fi, then choose to Invite.


2.4 Invite Marko Karppinen to be a user. Please provide the same email address you provided in step 1.3, then choose Next. 
2.5 Tick the user role box for App Manager. Proceed by choosing Next. 
2.6. Choose All Territories for the App Status Reports notification section.
2.7 To send the invite, choose Save.

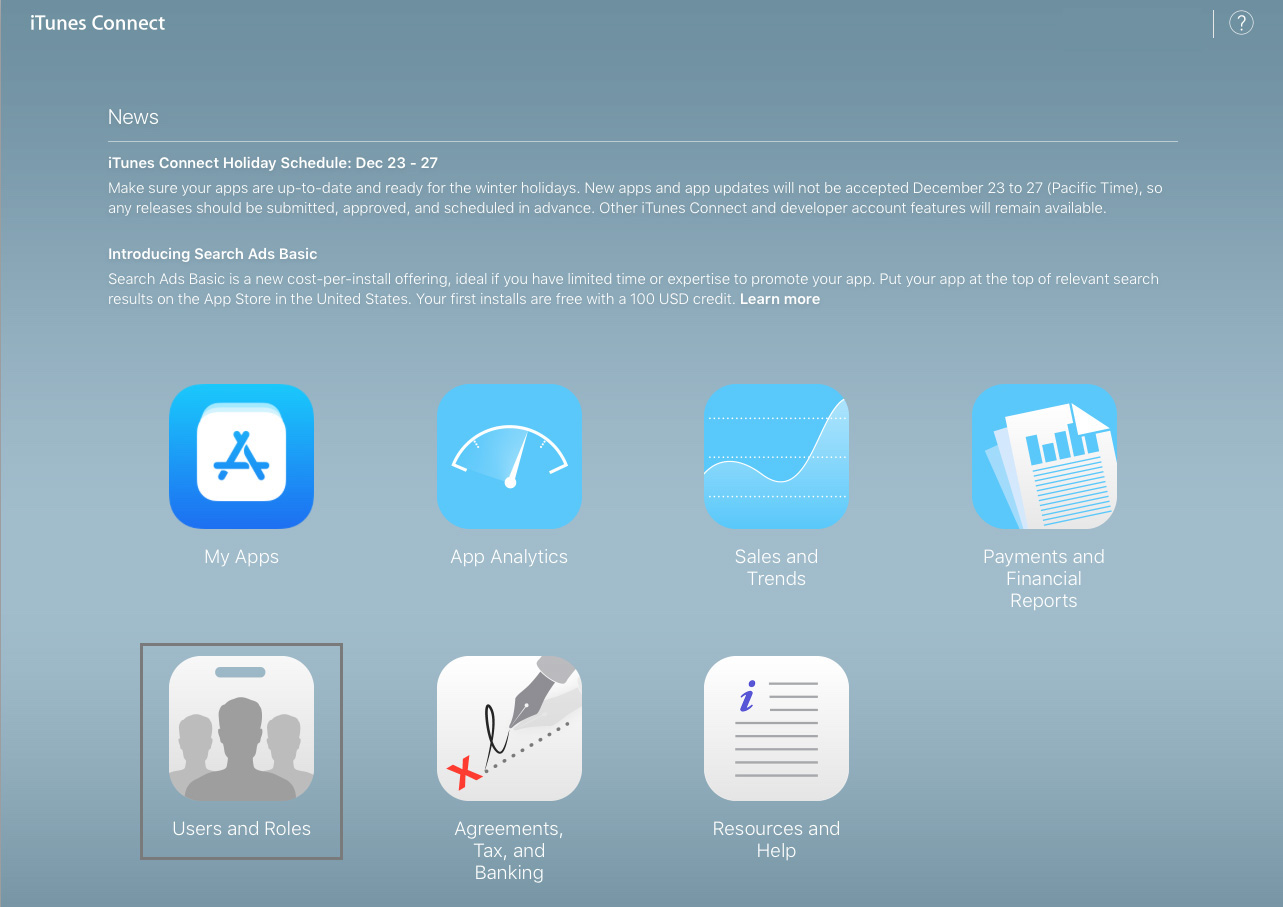
2.8 After sending us the the invites mentioned above, please navigate to the Agreements, Tax, and Banking module in iTunes Connect to make sure that your Paid Applications contract is in effect. If it is not, please request one, and finish by setting up Contact, Bank and Tax info as advised by Apple. Once the agreement is in the Contracts in Effect section, we can resume with building your app.
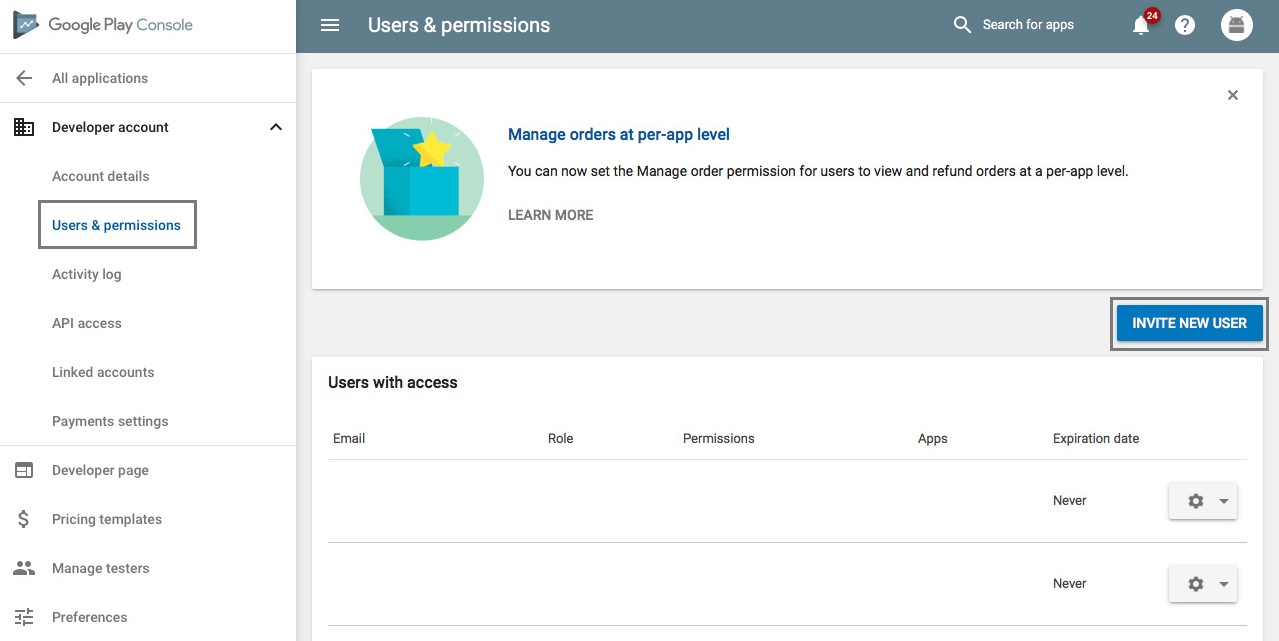
3.4 Invite maggio.apps@gmail.com to join your account. Tick the boxes for the permissions listed and choose to Send Invitation. Permissions required for managing your app:
- ACCESS LEVEL: View app information and Create & edit draft apps
- FINANCIAL DATA: All
- RELEASE MANAGEMENT: All
- STORE PRESENCE: All

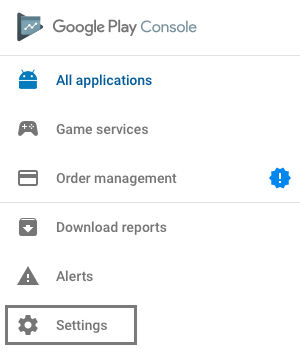
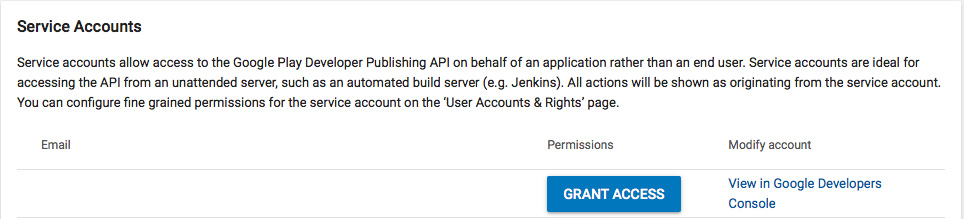
3.5 Next, navigate to the API access settings and choose to Create Service Account. The button is located at the bottom of the page. 
3.6 Follow the instructions given, starting with navigating to the Google Play API Console by clicking on Google API Console.

3.7 A new tab will be opened in your browser. As you will need to navigate back to the other tab later, please do not close any tabs at this point. Navigate to the + Create Service Account menu.

3.8 Name the service account, richie-service-account, for example. Choose the role Editor from the Project category. Tick the box for Furnish a new private key, then choose the Key type P12. Finish by clicking Create.

3.9 Your browser will now download a file (.p12). You’ll find this in your Downloads folder. Next, The Google Play API Manager will display a pop up window with the password for the .p12. Please send this file along with the password for the .p12 to us.
3.10 Navigate back to the Google Play Developer Console tab in your browser (step 3.6). Click Done.

In this process, you will have automatically generated a Service account email address, which we need. It’s displayed in the Service Accounts listing (as seen in step 3.5). Please send this email address to us, it is only visible to the account owner.
3.11. In the Service Accounts listing, click Grant Access for the newly created service account.
3.12 Adding a new user, tick the boxes for
- ACCESS LEVEL: View app information and Create & edit draft apps
- FINANCIAL DATA: All
- RELEASE MANAGEMENT: All
- STORE PRESENCE: All
Finish by clicking Add user. 